This is the part 2 of cyclocross bicycle build series. Jump to part 1.
Disassembly preparation
With the bicycle, materials, tools and parts figured out I was ready to begin the disassembly process. Taking things apart is fun and bicycles are not exception to this rule. As a guide I reversed the bike assembly order from Parking Tool website. The process starts with the chain removal and continue along the drive train until the levers and controls are taken off.
With the tools and parts laid before me I went into the process with ecstasy.

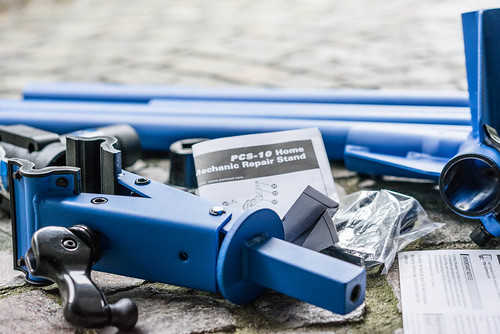
At first I hoped to borrow a bike stand from a friend or a colleague. Nobody replied so I purchased my own. It is a lot more convenient to work on bicycles on a proper bike stand. I used to rely on a kickstand or improvisation. With a task such as a whole bicycle assembly ad-hoc solutions become unwieldy and frustrating. I purchased Park Tool PRS-1 stand.
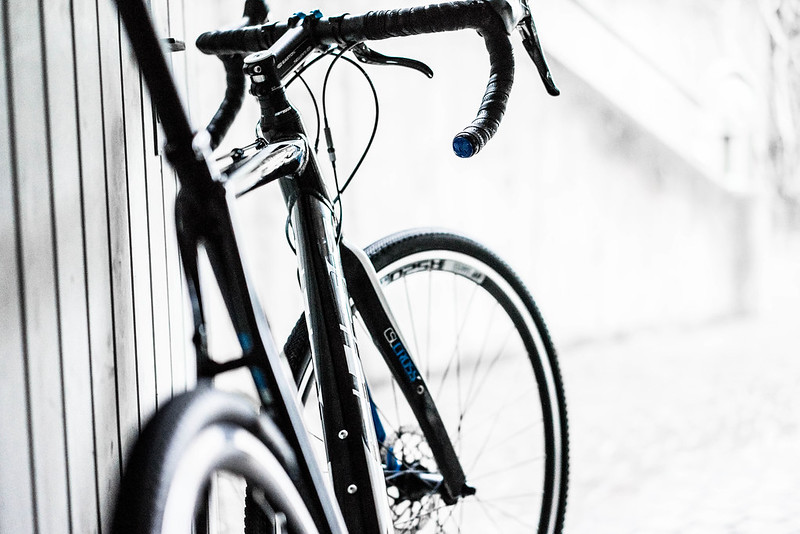
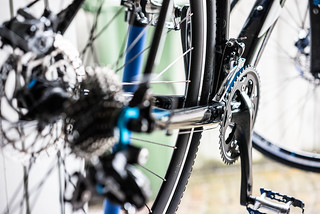
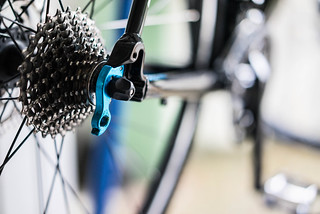
Cube Cross Disc bicycle looks good on its own. I really like the color scheme. I have purchased a couple of “pimping” parts to improve aesthetics even further. Things like blue bolts and cable housing, blue jockey wheels and quick release axles.
Getting down to it
There is nothing inherently difficult in taking a bicycle apart when the right tools are at hand. It’s actually a precise and highly satisfying work.
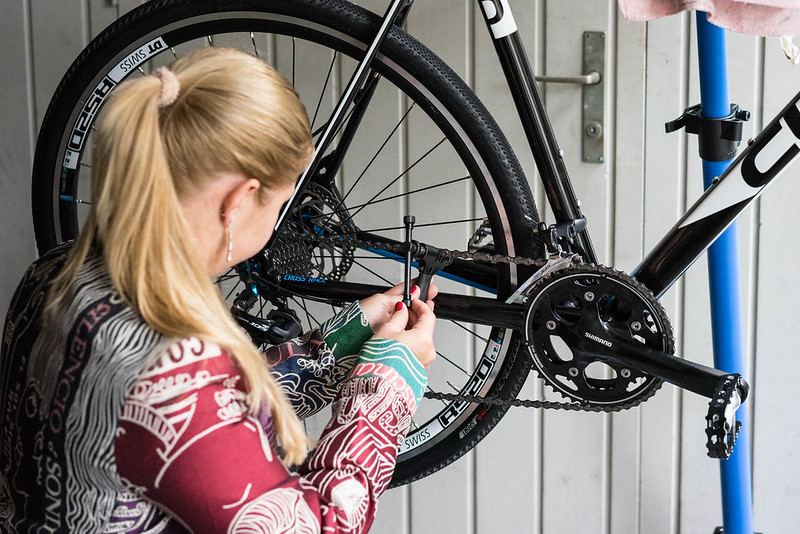
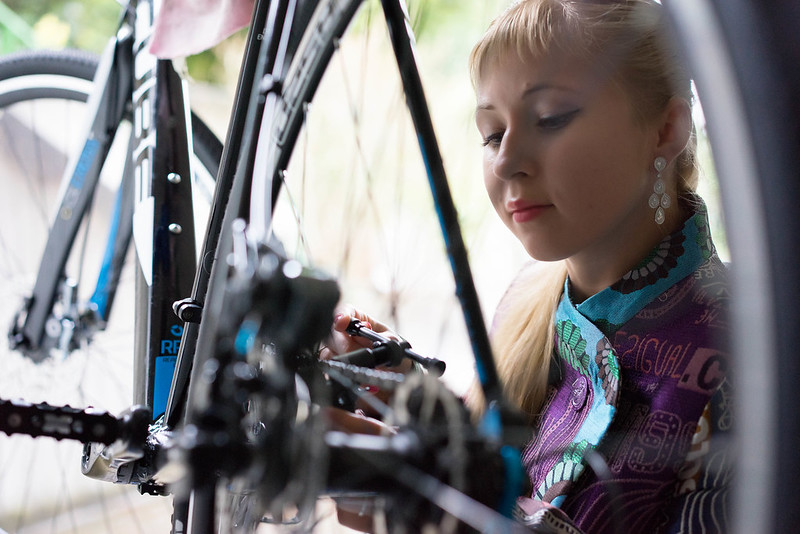
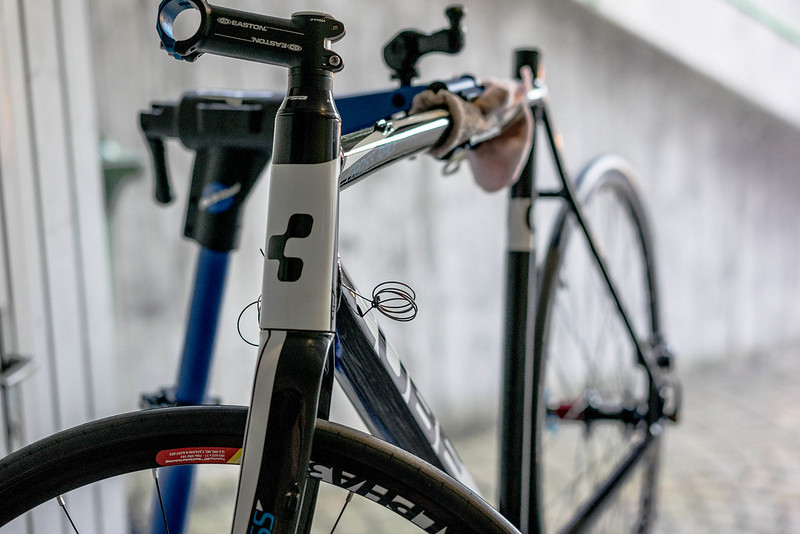
Part by part the bicycle was slowly dissolving until only a frame and wheels remained. A bicycle is a really good illusion. Initially, it appears complex, intricate and intimidating with all the seemingly difficult adjustments. However, once a bicycle is stripped of parts comes a realization of its simplicity and elegance.


The disassembly went on and on until the bicycle looked like this. Note that for the following shot I’ve already put different wheels on. I’ve left the old cables inside to guide the insertion of new ones.
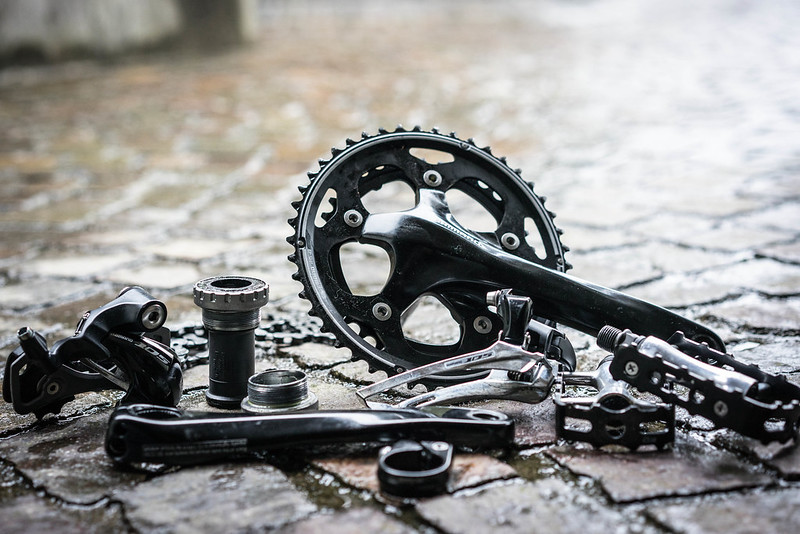
Shimano 105 component groupset used to power this bike. Now it’s going to be replaced with Shimano Ultegra 6800. I will have a bunch of parts that I need to sell. I don’t fancy cluttering my place with too many random spare parts and pieces. Hopefully, there are enough bike enthusiasts at work to claim most of them.
Wheels
I have never had tubeless road bicycle tires. The assembly process was a bit unusual. Putting road tires on the Stan’s Alpha 340 wheelset was relatively painless. But I had typical problems putting cyclocross Raven tires on Alpha 400 even though I had installed the recommended additional rim strip. The problem was the tires did not seal and air went out. Tires would not inflate sufficiently to seal the gaps and air would get out. The solution was to unscrew the valve and let it move inside of the tire for initial setup. Then, I had to pump really hard to reach a critical pressure point. At the same time I was throwing the wheel up slightly so that the tire would fall into place. Still at the same time I screwed the valve back in. This maddening sequence went on until I’ve noticed that the air is not escaping as fast as it did initially. An air compressor would come in handy because it would be much easier to reach critical inflation point. Some folks report success with CO2 cartridges.
My complete order from notubes.com contained the following:
- Alpha 340 cyclocross wheelset, Shimano 11 speed
- Alpha 400 cyclocross wheelset, Shimano 11 speed
- Stan’s quart of tire sealant
- Stan’s sealant injector
- 2x Hutchison 3 tubeless tire
- 2x Raven tubeless tire
- Core remover (to inject sealant into tire without removing it)
Stans Alpha 400 wheelset with Raven cyclocross tires (700x35). I’ll use this wheelset mostly for winter commuting. I also want to try riding off road courses on this bike.
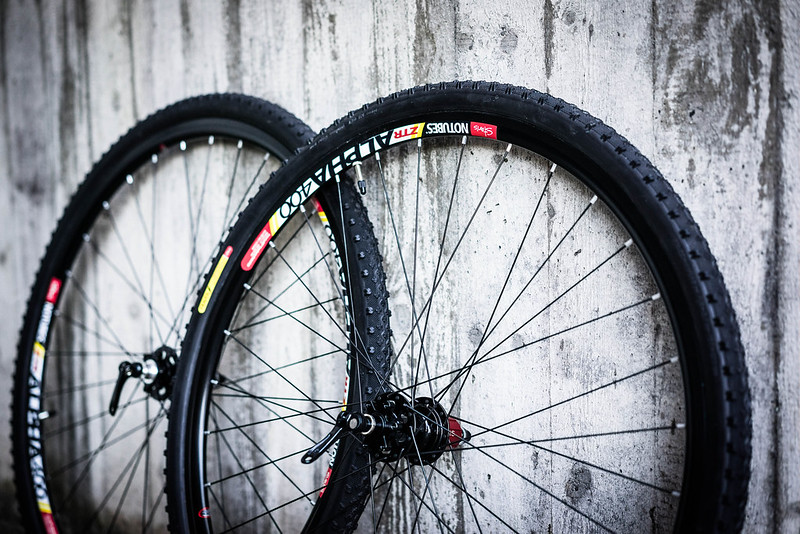
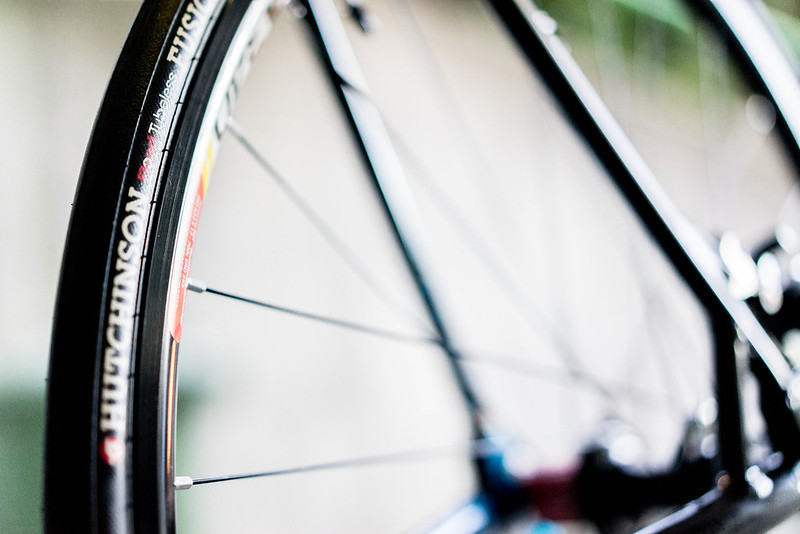
Stans Alpha 340 wheelset with Hutchison 3 road tires (700x23). Beautiful.
Did I mention that Stan’s 3.30 hubs freewheel sound gorgeous?
Newly discovered alternatives
I discovered that it is possible to buy decent bicycle frames directly from Chinese manufacturers. Initially, I was skeptical but as I read people’s reports it appears that the quality is acceptable. A carbon cyclocross frame costs 500-600$ - much lower than about 2000$ most manufacturers would ask for. It’s also possible to slap a custom paint job on it!