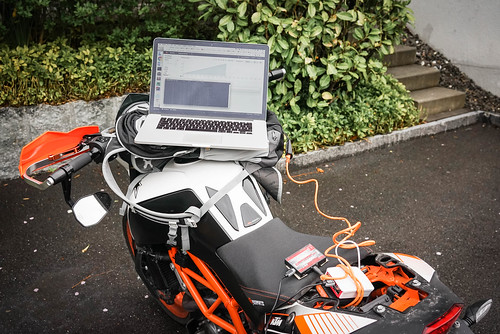
In the final article I finish the series about the IoT hackathon project by explaining the server side component of the system. Admittedly, it is the smallest part and I intentionally chose to make it trivially simple. 4 days of project of work is not infinite, after all. I think it took me roughly 4-6 hours to set everything up.
[Read More]Internet-connected motorcycle project, Part 2
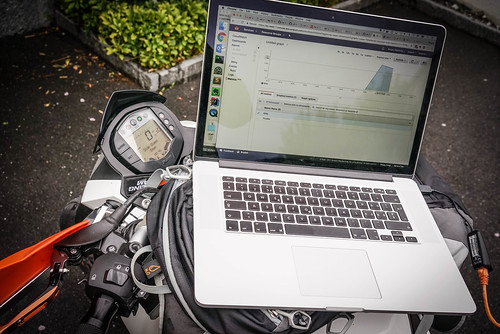
In this second post I continue with the short hackathon project I worked on last week. The goal of the project was to hook into engine data of a KTM motorcycle and stream that data in real-time to the cloud. I explain how I reverse engineered the USB wire protocol of a proprietary device called Power Commander 5 from Dynojet and wrote a simple Java program that works on Linux. I also show the tools I used along the way and share my thinking process.
[Read More]Internet-connected motorcycle project, Part 1
Since autumn 2016 I’m working at an IoT company – we build Internet-connected home automation devices. Last week we had an internal hackathon to try something new. Essentially, it was a chance to work outside of the comfort zone and try out new APIs and hardware in the vast world of IoT. At first I was struggling to come up with an idea. Some ideas seemed trivial, others unrealistic. Finally, I brainstormed over available hardware and my surroundings and decided to make my KTM Duke 390 motorcycle join the IoT party!
[Read More]Updates to the 802.11ac guide
Beginners guide to a custom 802.11ac setup
About 3 months ago I had nothing better to do so I decided to replace an off-the-shelf Linksys E4200 wireless router with a custom build running an unrestricted O/S. I admit E4200 worked reliably through the years on stock firmware but I never felt comfortable with the privacy and network vulnerability aspects of commonly sold devices. And I find third-party router firmwares too complicated to fully comprehend and tweak. There’s simply too much configuration becauase it needs to satisfy many use cases.
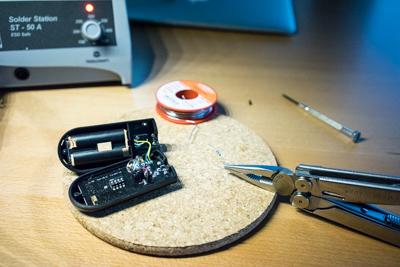
[Read More]My first solder job
This year I realized that I am wasteful with photo gear so I decided to switch to one digital camera system. I’ve sold all cameras and various gear I had from before and settled on Sony A7R. One thing I appreciated from my Canon collection is Yongnuo set of flashes and remote radio triggers. Yongnuo are inexpensive and for a price of one Canon flash I got two flashes and radio controllers. However, despite the fact the flash mounts are the same on Sony A7R and Canon 70D the Yongnuo RF603 radio trigger did not work.
Turns out the solution is one resistor away! I’ve discovered the following YouTube video that explains how to make the trigger work with Sony cameras. The solution is to solder a 120kOhm transistor between yellow wire and battery contact plate.
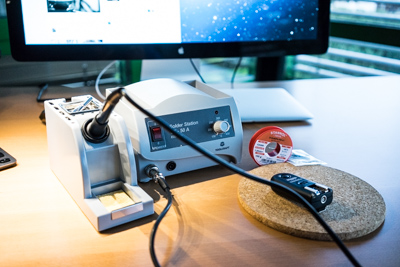
For years I have avoided any DIY job that requires soldering. I decided now it’s finally the time to purchase a solder iron and finally understand basics of electronics.
Aaaand success! The trigger now works great on Sony. I know this job was extremely simple but for me it has been satisfying to make a physical electronic thing work differently.
